How to paint a berimbau
There comes a time in every capoeirista’s life when they get to build a berimbau. That time is yet to come for me – but the time to learn how to paint one has arrived…
A couple of weeks ago Mestre mentioned that if anyone wanted to take berimbaus home to paint, they could. He’s always saying that all the instruments belong to us and now we can paint them. I used to take my own berimbaus in for music class, but stopped in the last few weeks, not only so I can practice other instruments, but also so I can play different berimbaus.
Anyway, when he said we could paint them I realised I didn’t have a clue how it was done, so I asked around and here’s how it went…
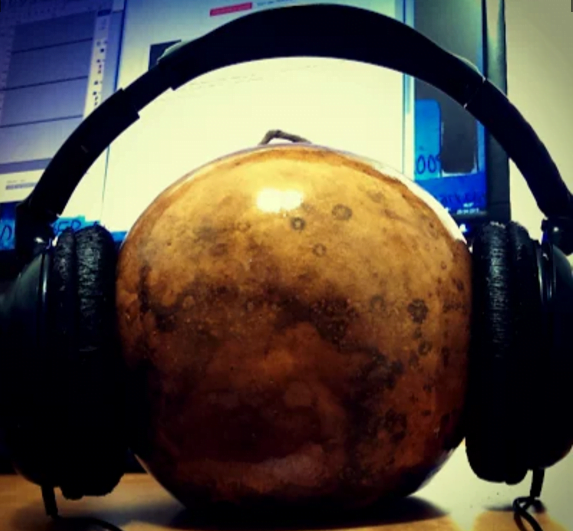
I decided to paint my own berimbau first, as a practice run… My very first berimbau, the heaviest, but also the one with the best sound. The one I use to practice at home, to build up strength on my hand muscles.
Firstly I went to a crafts shop and got acrylic and enamel paint and brushes. At home I already had masking tape and clear varnish and some other brushes.

I think any quick drying light wood varnish should do the trick. This is the varnish I used (Everbuild quick drying clear varnish gloss or satin), it’s light, quick drying and not sticky, so no friction/blisters when playing the berimbau. If not sure I’d test it before varnishing. Some people don’t varnish, so not a must. But it protects/waterproofs the painted berimbau.
I had no idea what I was going to paint, but I didn’t want to look at photos of other berimbaus for inspiration, so I just started painting. First the base, I thought I’d do it in white:

Then… what? I thought I’d use masking tape to do lines of different colours around the cabaça, but you can’t, because of its shape, it has to be done by hand. So I did a blue line at the base, then a thick blue line across. I decided I’d use the Brazilian flag colours – yeah, predictable, but that’s how it went – Green, Yellow, Blue and White. A couple of hours later I had this:

The next day I started painting the wood. Once again I did the white base first. Because I had written the toques on this berimbau for music practice, it kept coming through the white paint, so it took a few coats.

So once the white paint dried it was just a question of putting masking tape on and painting the Brazilian flag colours.


Bank Holiday weekend and my husband’s birthday: so I painted and socialised!
Except: THE HORROR! All the dark colours had leaked into the white. I let the dark colours dry for a day, then put masking tape over the coloured stripes and painted a couple of coats of white over it.

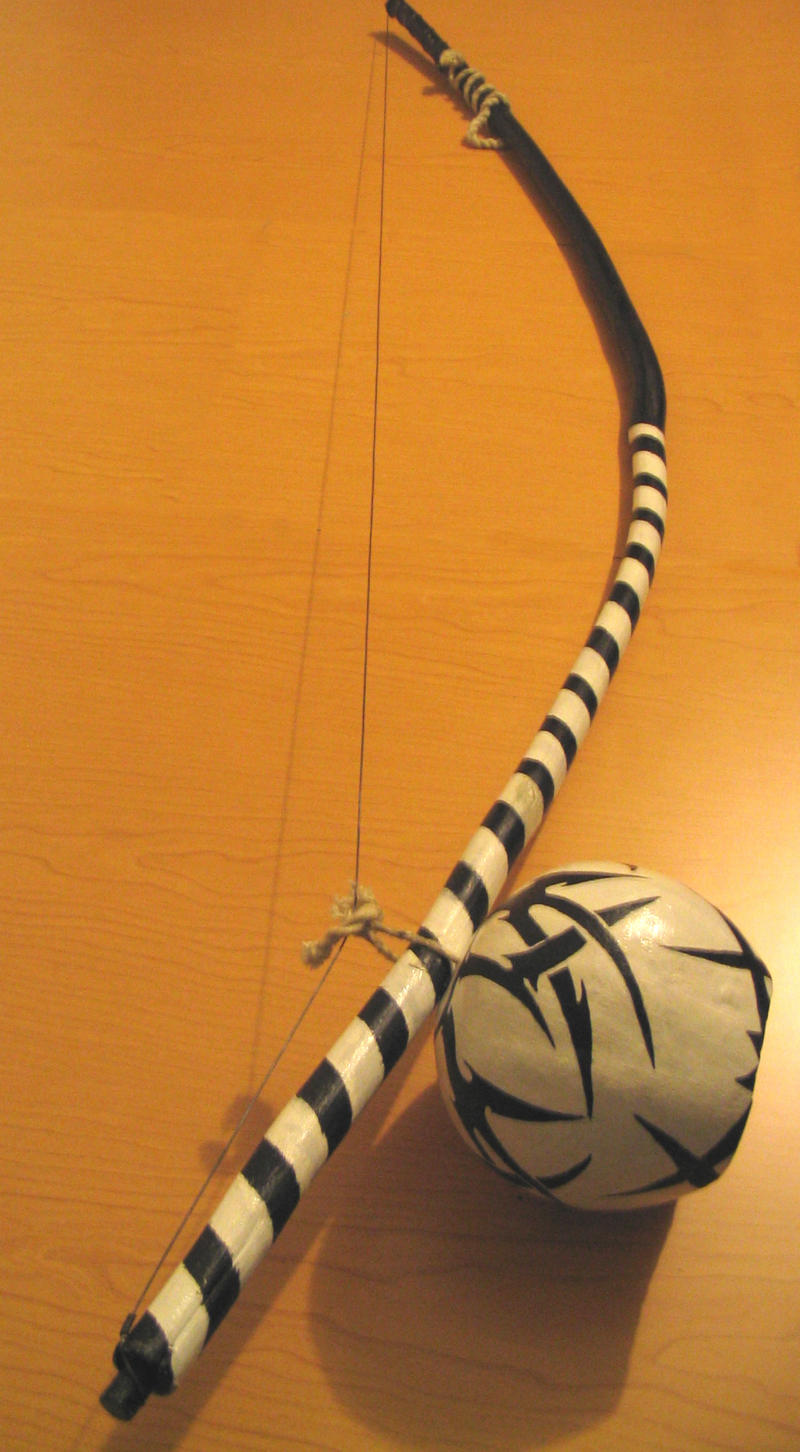
Once it all dried, I varnished, and finally, this morning, here it is:

I concluded the biggest obstacle for painting the berimbau is my own artistic skill. I don’t really have a well developed arty gene – but some of the berimbaus I have seen are really quite amazing. As long as you know the basics, then really, the berimbau is your oyster! I really really enjoyed the whole process, so I’ll be painting my viola in the near future.
Here are some other berimbaus I just found on image search for ‘painted berimbau’:


After practicing on my two berimbaus, I painted two berimbaus for our group:


See these photos on Flickr
See also: How to fix a cracked berimbau.